


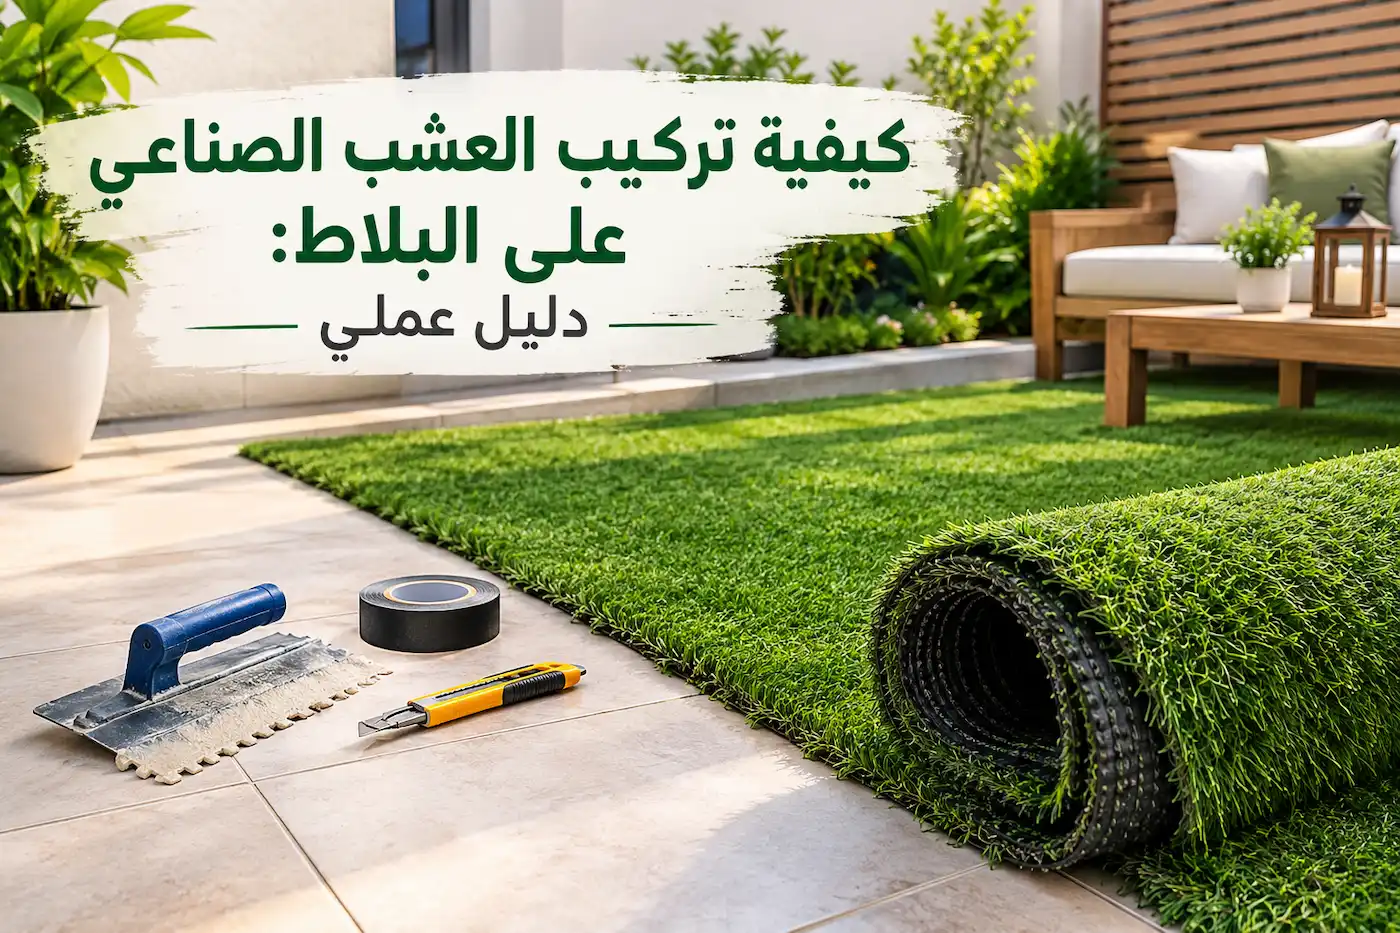
Artificial grass can be installed over tiled floors on balconies, rooftops, patios, and other suitable outdoor areas. The key is to check the tiles first, plan for water drainage, choose a suitable fixing method, and make sure the surface is clean and stable.
This guide explains how to prepare tiled floors, choose the right installation approach, avoid common mistakes, and estimate the main costs before you begin. If you are comparing options, browse the store’s artificial grass range or learn about its artificial grass supply and installation service.
1. Check Whether the Tiles Are Suitable
Before laying artificial grass, inspect the tiled surface carefully.
- Check stability: Replace or secure loose, cracked, or hollow-sounding tiles before installation.
- Check the slope: The floor should allow rainwater or cleaning water to drain instead of collecting under the grass.
- Check the surface: Remove dust, grease, sand, and other debris that could prevent the grass from sitting flat.
- Check the edges: Plan how the grass will finish against doors, walls, drains, and balcony edges.
Do not cover a surface with serious water leakage, unstable tiles, or persistent standing water without resolving the underlying issue first.
2. Plan Drainage Before Installation
Drainage is one of the most important considerations when installing artificial grass over tiles. Water needs a clear route to the existing drain, and the installation must not block drainage channels or door thresholds.
Choose a grass product with a suitable drainage backing for the intended location. Compare available artificial grass products and review the specifications of each product before ordering. Keep drains accessible, and avoid sealing the entire surface in a way that traps water underneath. If the tiled area has poor drainage, correct that problem before installation.
For balconies and rooftops, also check any building or property rules that apply to modifications and drainage.
3. Measure the Area and Prepare the Grass
Measure the length and width of the installation area. For irregular shapes, divide the floor into smaller rectangles, calculate each section, and add the totals. Allow a small extra amount for trimming, but avoid buying substantially more than the layout requires.
Before cutting:
- Unroll the grass on a clean surface.
- Let it settle according to the manufacturer’s instructions.
- Check that the pile direction will look consistent across all pieces.
- Mark cuts from the backing side where possible.
- Use a sharp utility knife and cut carefully.
If multiple pieces are needed, plan the joins before applying adhesive. The pile direction should match across adjacent sections to reduce visible differences.
4. Choose the Right Fixing Method
The best fixing method depends on the location, expected foot traffic, exposure to weather, and whether the installation needs to be removable.
Removable or temporary installation
For some small, sheltered areas, the grass may be laid without permanent adhesive if it remains flat and secure. This can make cleaning and removal easier, but it may not be appropriate in windy, exposed, or heavily used locations. Do not rely on loose-laid grass where it could lift or create a trip hazard.
Perimeter fixing
A compatible outdoor adhesive or fixing system may be used around the perimeter when recommended for the surface and product. Keep the drainage points clear and follow the adhesive manufacturer’s instructions.
Full or partial adhesive fixing
For areas that need more secure fixing, use an adhesive specifically suitable for artificial grass backing and the relevant tile surface. Test compatibility in a small, inconspicuous area first. Some adhesives may not bond properly to glazed or dusty tiles, and some can damage the backing or leave residue.
Do not use indoor-only adhesive outdoors. Follow the product’s instructions for surface preparation, application, curing time, temperature, ventilation, and safety.
5. Lay the Grass and Finish the Seams
Position the grass before fixing it permanently. Check the direction of the pile, the alignment of the edges, and the location of the joins.
If two or more pieces are required:
- Keep the edges straight and close together without overlapping them.
- Use a suitable joining tape and adhesive if the product’s instructions call for it.
- Avoid getting adhesive onto the visible grass fibres.
- Press the join evenly and allow the adhesive to cure for the recommended time.
Trim the edges carefully around walls, drains, posts, and other obstacles. Leave drainage outlets accessible and make sure no raised edges create a trip hazard.
6. Brush and Inspect the Finished Installation
Once the grass is in place, brush the fibres against their natural direction to help them stand upright. Check the perimeter, joins, and corners, and confirm that water can still reach the drains.
Inspect the installation after the first cleaning or rainfall. If water pools, edges lift, or joins separate, identify and fix the cause rather than simply adding more adhesive.
Common Mistakes to Avoid
- Installing over loose or damaged tiles.
- Ignoring the direction of the grass pile.
- Blocking drains or trapping water underneath the grass.
- Using an adhesive that is not suitable for outdoor use or the backing material.
- Applying adhesive before checking the layout and seams.
- Leaving raised edges that could cause trips.
- Assuming every artificial grass product includes installation or the same warranty.
How Much Does Artificial Grass Cost in Saudi Arabia?
The total cost depends on the selected grass, the area, cutting waste, accessories, surface preparation, and whether professional installation is required. Product prices may change, so check the live artificial grass category and the individual product page before making a purchase. For larger outdoor areas, you can also review the store’s garden landscaping and artificial grass installation service.
To estimate the material quantity, multiply the area length by its width. For example, an area measuring 3 m × 4 m covers 12 m² before allowing for trimming. Confirm whether the seller quotes prices per square metre, per roll, or per another unit.
Before ordering, verify:
- The product’s pile height and density.
- Whether the listed price is per square metre or another unit.
- Whether installation and VAT are included.
- The delivery cost and service area.
- The warranty terms and conditions.
- Whether the product is intended for balconies, gardens, sports areas, or another use.
Frequently Asked Questions
Can artificial grass be installed directly over tiles?
Yes, if the tiles are stable, the surface is suitably prepared, and drainage remains functional. Damaged tiles and water pooling should be addressed first.
Does artificial grass over tiles need drainage holes?
The grass backing should allow water to pass through, and the installation must preserve access to the floor’s drains. Requirements vary by product and site.
Should I glue artificial grass to tiles?
Not always. The right method depends on the area and whether the grass needs to be removable. If adhesive is needed, choose one compatible with both the tile surface and grass backing.
Can artificial grass be installed on a balcony?
It can be suitable for many balconies, provided the floor is stable, drainage is not blocked, the product is appropriate for outdoor use, and building rules are followed.
How do I clean artificial grass installed over tiles?
Remove leaves and debris, brush the fibres, and rinse when appropriate. Make sure the water can drain away and follow the product’s cleaning guidance.
Can I install artificial grass myself?
A small, simple area may be suitable for DIY installation if you can measure and cut accurately and follow the manufacturer’s fixing instructions. Larger or complicated areas may benefit from professional installation.
Final Checklist Before Buying
- Measure the area accurately.
- Check tile stability and drainage.
- Choose a product suitable for the location.
- Confirm the price unit, delivery, installation, and VAT.
- Select a compatible fixing method.
- Keep drains and access points clear.
- Follow the manufacturer’s installation and maintenance instructions.